|
When building flutes, the important work begins much earlier than one thinks. Measuring the original has to be done very carefully and accurately. The next step is to cut wood and dry it properly without cracks. I mainly use ebony, blackwood or boxwood. Other wood like the plum tree or other fruit trees is also acceptable. Due to the lack of availability, one has to handcraft some special tools for making flutes.
The following pictures show roughly how to make a right hand joint for a traversflute. Drilling the fingerholes and intonation follows later, first with a drill and then with small knives or with a small milling cutter.
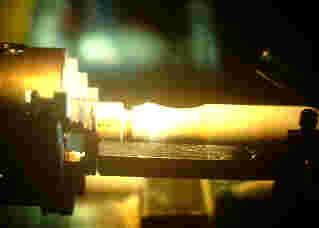
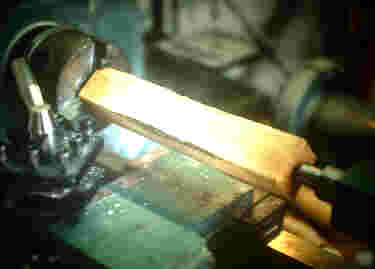 A roughly sawn squared timber is fixed and turned until round. A roughly sawn squared timber is fixed and turned until round.
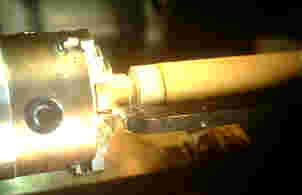
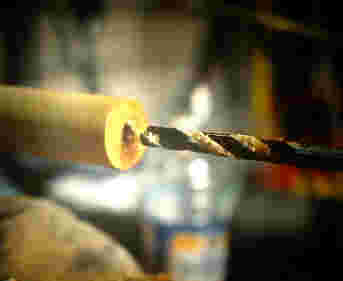 The turned wood is now drilled through. The turned wood is now drilled through.
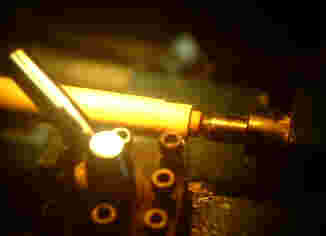
 Here I use a handcrafted reemer to widen the bore to the measurement data of the original flute. The bore is now unregularily conical like that of the original. Here I use a handcrafted reemer to widen the bore to the measurement data of the original flute. The bore is now unregularily conical like that of the original.
 To position the ivory ring, I turn the wood to half a milimeter thickness. The flute joint is stuck on two precisely turned pieces of wood. There is a constant risk of cracking the joint. To position the ivory ring, I turn the wood to half a milimeter thickness. The flute joint is stuck on two precisely turned pieces of wood. There is a constant risk of cracking the joint.
 Here you can see the turned piece and the accurately fitting ring I made of artificial ivory. Ring and piece will now be glued together. Here you can see the turned piece and the accurately fitting ring I made of artificial ivory. Ring and piece will now be glued together.
 Now the glued piece will be turned again. Now the glued piece will be turned again.
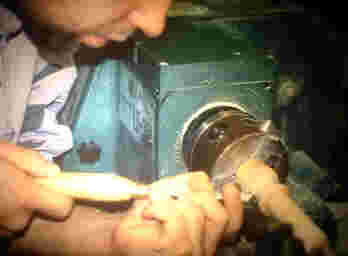 In this picture you can see how I take away some wood with a chisel to get it correctly shaped. In this picture you can see how I take away some wood with a chisel to get it correctly shaped.
 The embelishment is done first,later rest of the joint will be turned. The embelishment is done first,later rest of the joint will be turned.
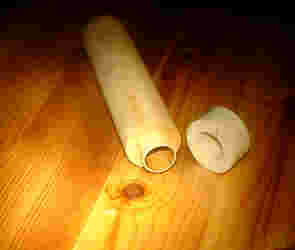
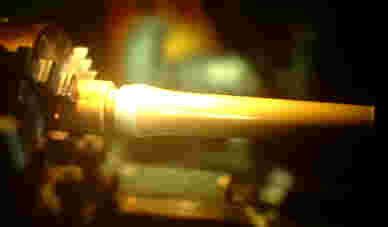 Now the shape is identical to that of the original. Polishing the wood comes next. Now the shape is identical to that of the original. Polishing the wood comes next.
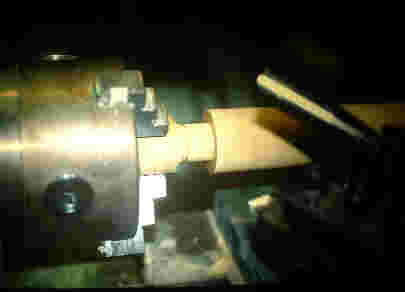
 The last step is to turn the tenon for the pieces should be able to fit together. The last step is to turn the tenon for the pieces should be able to fit together.
|
